Introduction
This article outlines the steps needed to create a new currency in Dynamics GP. The article assumes you have the relevant security permissions to access the various windows and also the system password if one is used.
Adding a new currency
First you need to add the currency via “Tools > Setup > System > Currency”
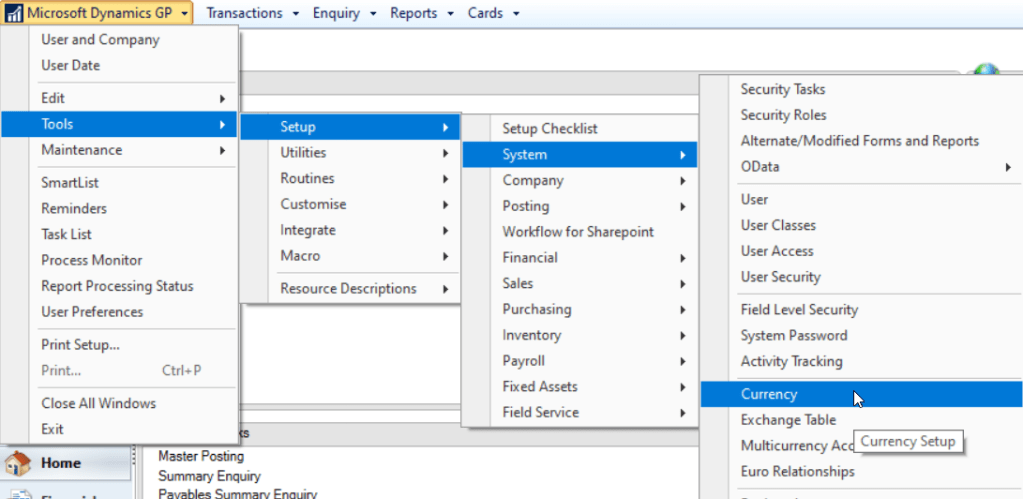
In this case I’m adding the Japanese Yen

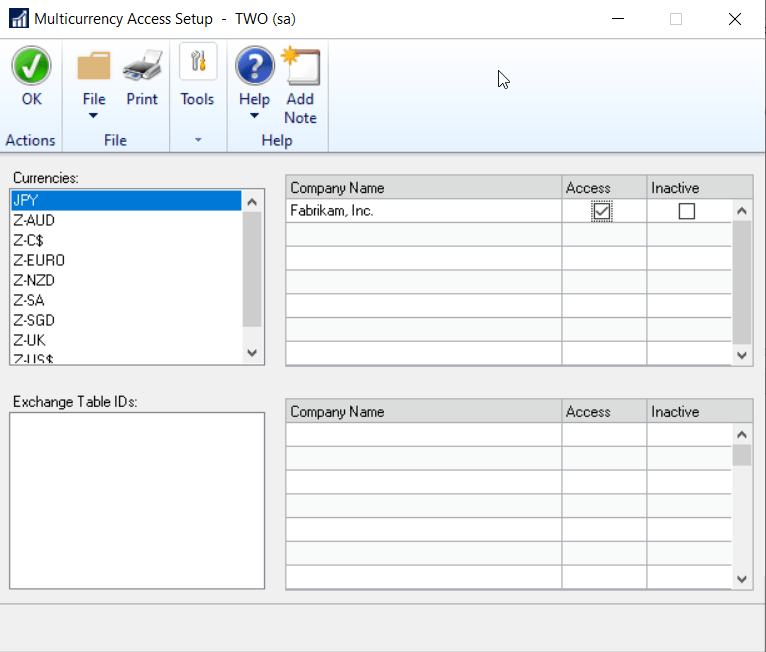
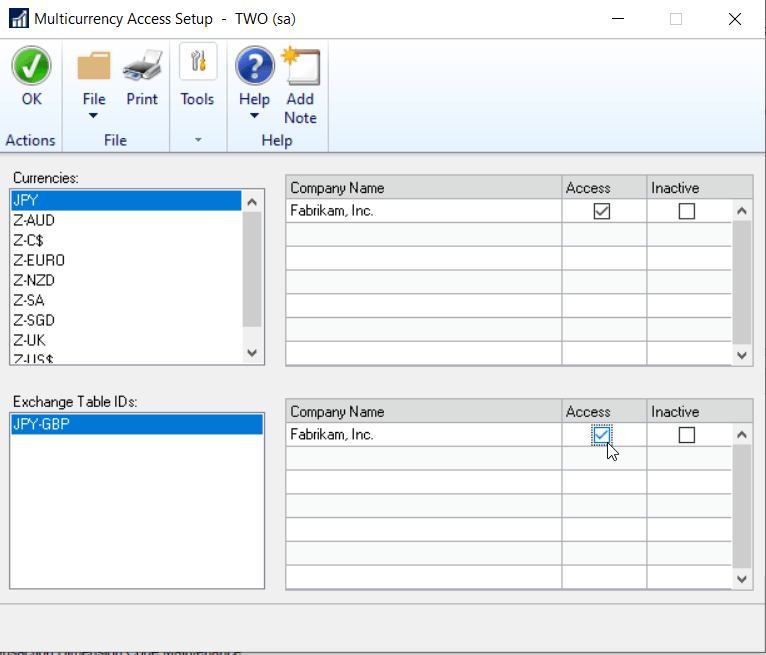
After the currency has been added grant your Dynamics GP companies access to the new currency via “Tools > Setup > System > Multicurrency Access”
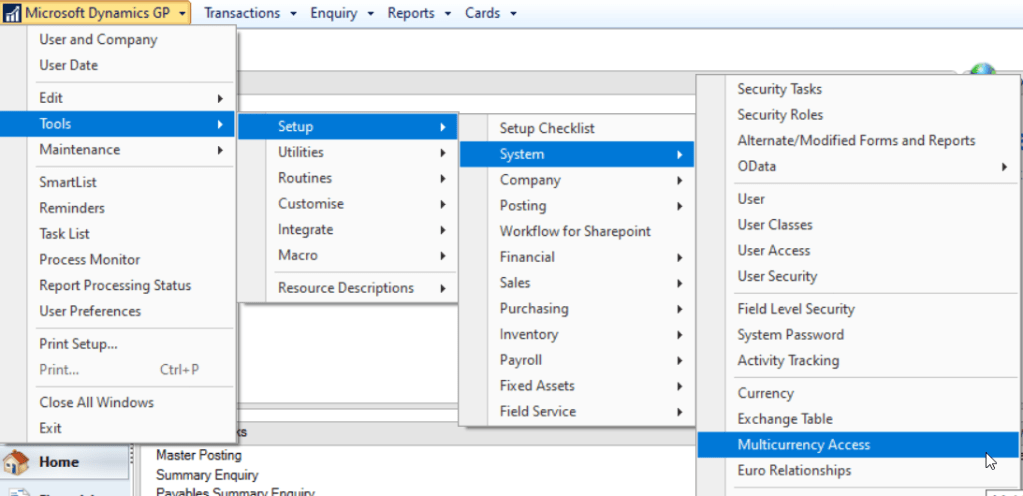
Once in the “Multicurrency Access Setup” window select the new currency and tick the relevant companies. (this requires all users are out of the system)
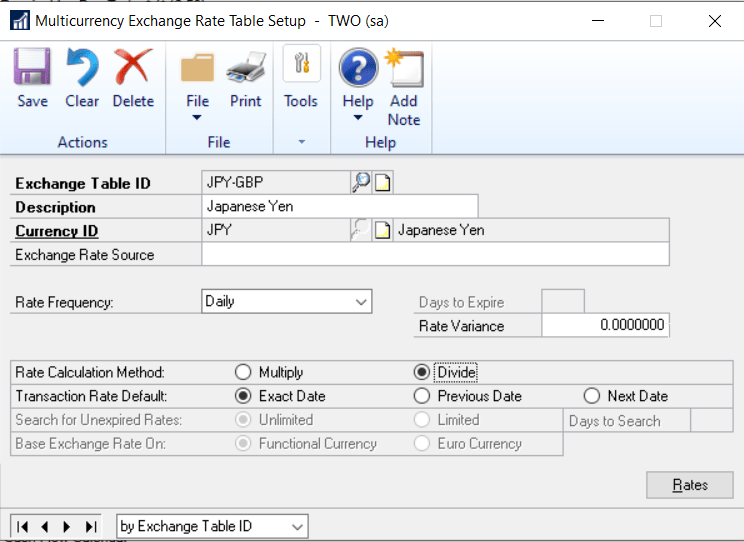
Next add the “Exchange Tables” via “Tools > Setup > System > Exchange Tables”
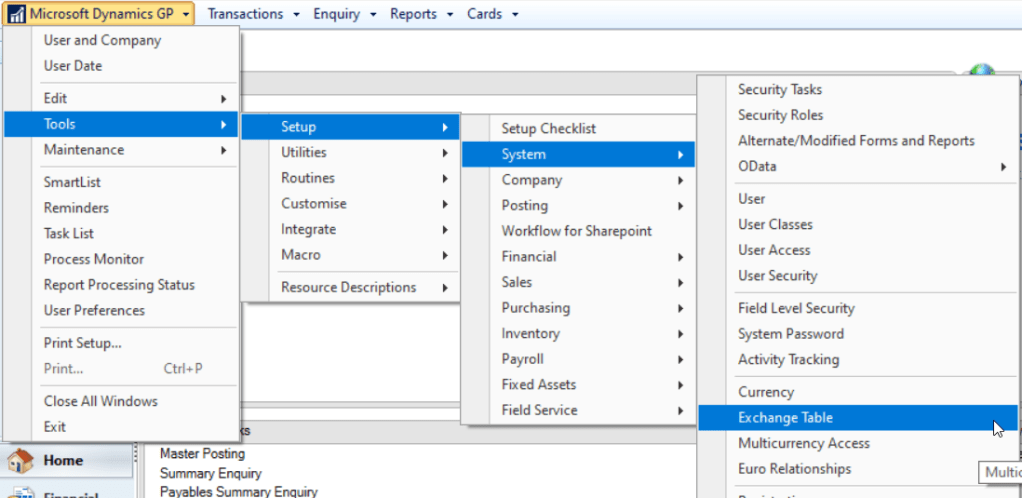
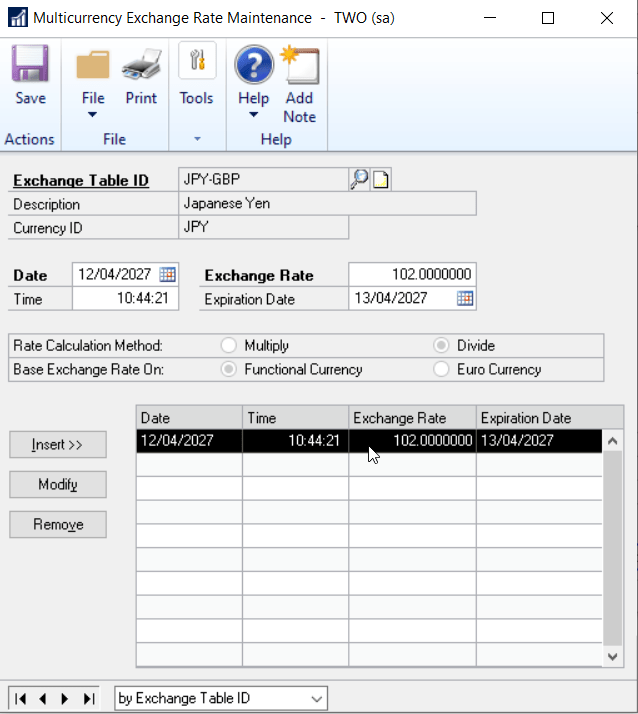
Once in the “Multicurrency Exchange Rate Table Setup” window create the Exchange Table ID and click “Rates” and add the exchange rates.
** You can review any existing exchange tables to confirm the settings used in your system. In my example I’m choosing “Divide” as the calculation method and “Exact Date” as the default rate. You may wish to use different settings on your system.
Next you need to go back to the Multicurrency Access Setup window and grant access to the Exchange Table ID we just created.
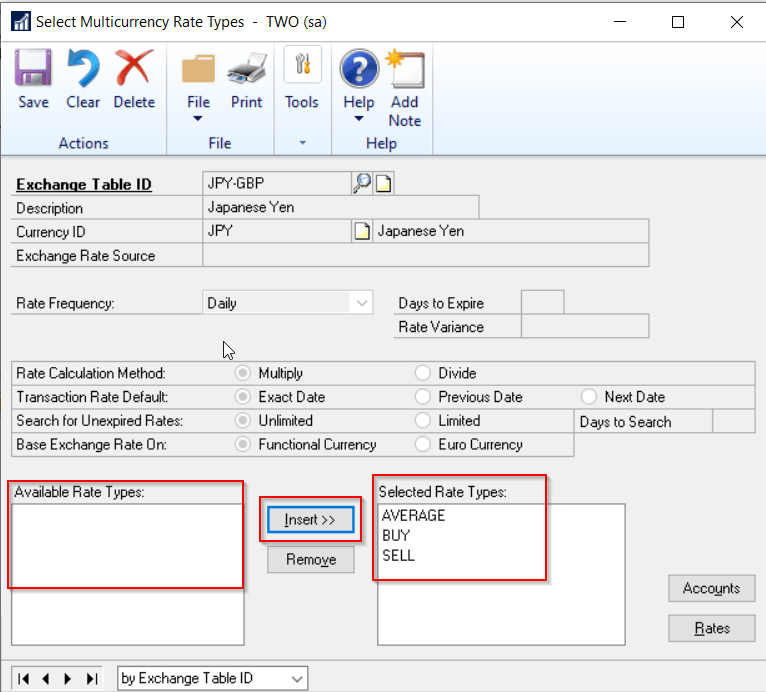
Once the currency and exchange table have been created, and access has been granted, we just need to assign the various rate types to the exchange table. We do this via “Tools > Setup > Financial > Rate Types”
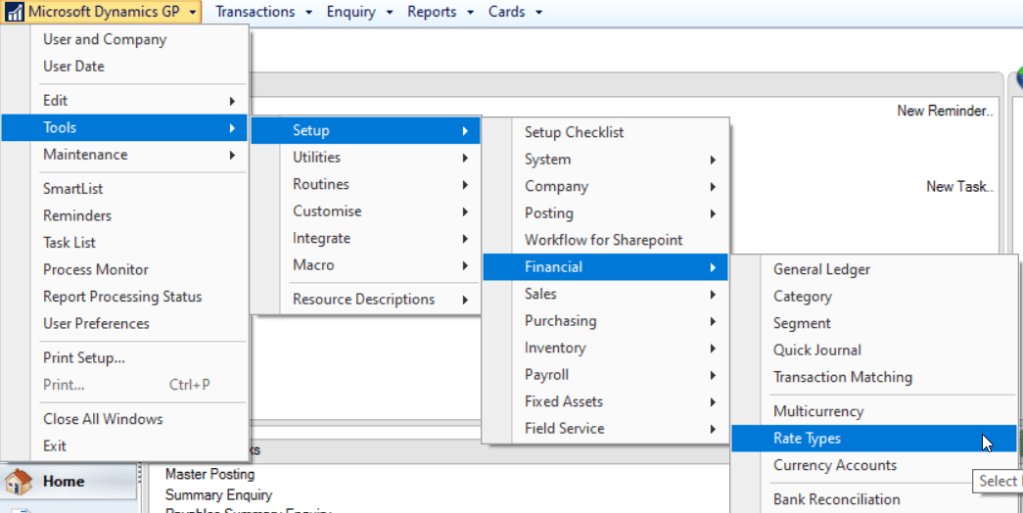
In my example I only intend to have one exchange table so I’ve assigned all the rate types to the new exchange table.
** Please note you may only have one rate type in your system. My example is based on adding a new currency for use in the Fabrikam demo company which has three rate types.
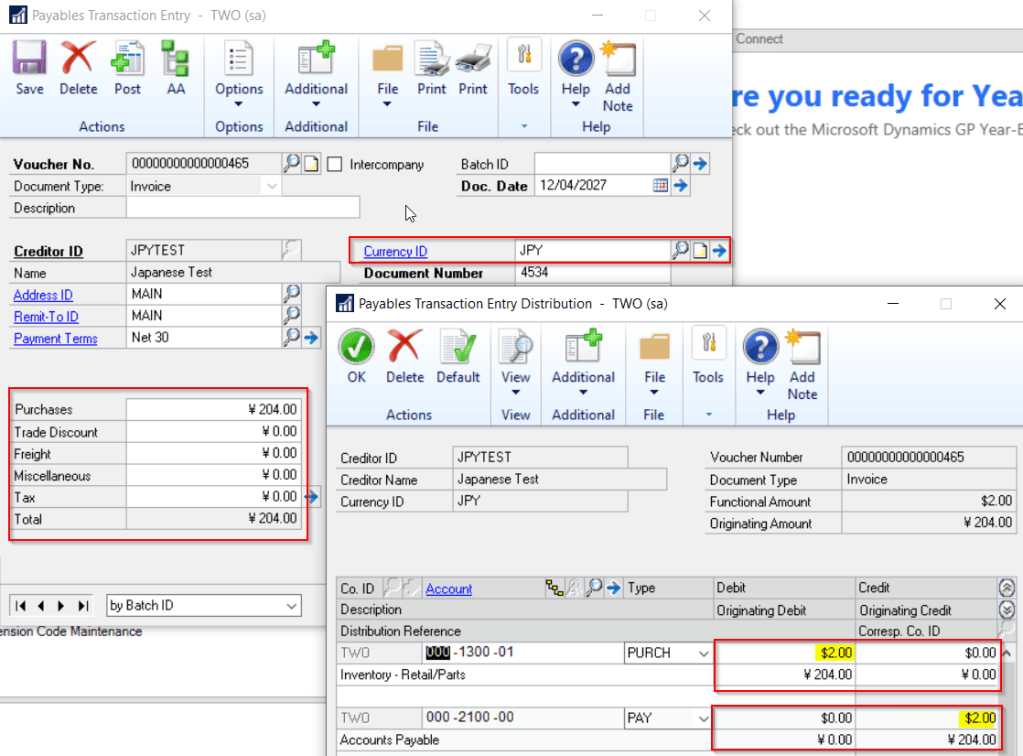
Once this is all setup I can test adding a transaction and this all works fine. I’ve added a transaction for 204 Japanese Yen which equates to 2 US Dollars.
If Inventory Items are used in your system you may also need to assign the new currency to either all or some of your Items. This can be done individually via “Cards > Inventory > Item Currency” or en masse via “Tools > Utilities > Inventory > Price List Utilities”
Conclusion
As you can see there are quite a few steps involved in creating a new currency but hopefully if you follow the steps outlined above it will assist you in setting this up.
Thanks for reading!
Thinking of making the move to Business Central? We can help
