Introduction
Business Central provides users with the ability to email from a Shared Mailbox. For example, if you want to email all Sales Invoices from the generic email address “AccountsReceiveable@CompanyName.com” rather than an individuals email address.
This blog walks through the steps to add a Shared Mailbox in the Microsoft 365 Admin Centre called “Accounts Receivable” and subsequently integrating the Shared Mailbox into Business Central so users can email using the Shared Mailbox.
Add the Shared Mailbox in the Microsoft 365 Admin Centre
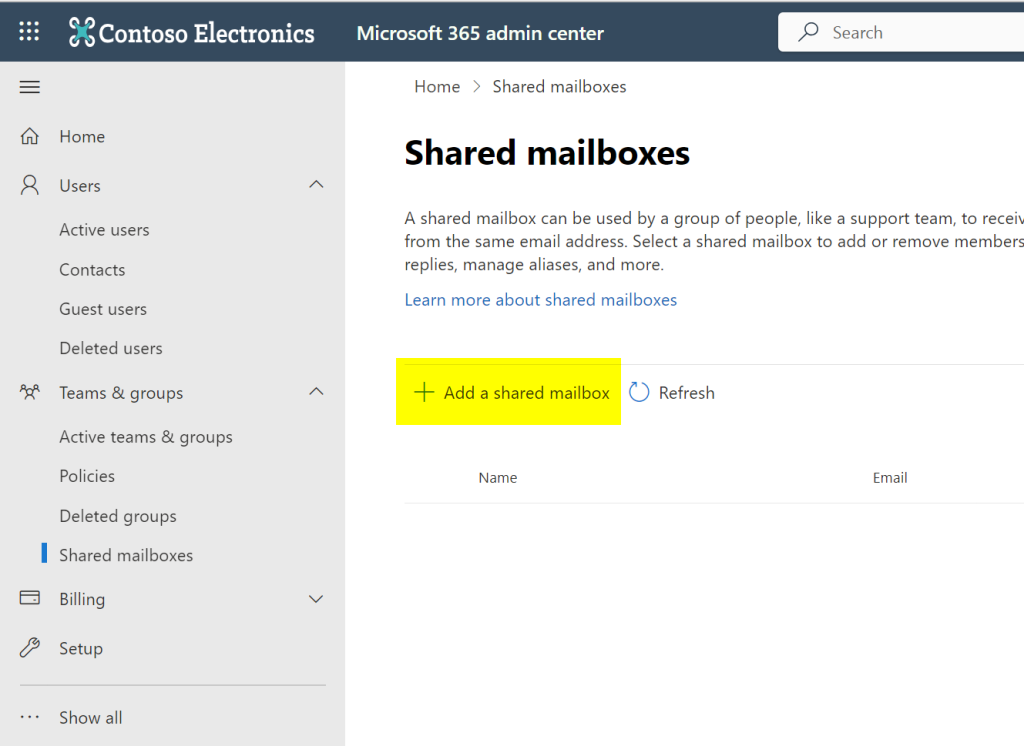
The first step is to create the Shared Mailbox in the Microsoft 365 Admin Centre and grant the users permissions to the Shared Mailbox.
Therefore log into the Microsoft 365 Admin Centre as an administrator and click “Shared mailboxes”.

Next click “Add a shared mailbox”
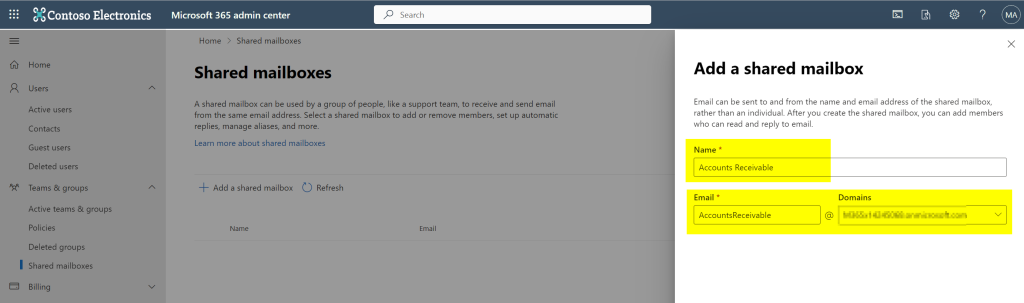
Enter the Name of “Accounts Receivable” and an email address of “AccountsReceivable@yourdomain.com” and click “Save Changes”
Next we need to grant the users the “Send As” permission to the Shared Mailbox
To do this click “Accounts Receivable” and then “Send as permissions”
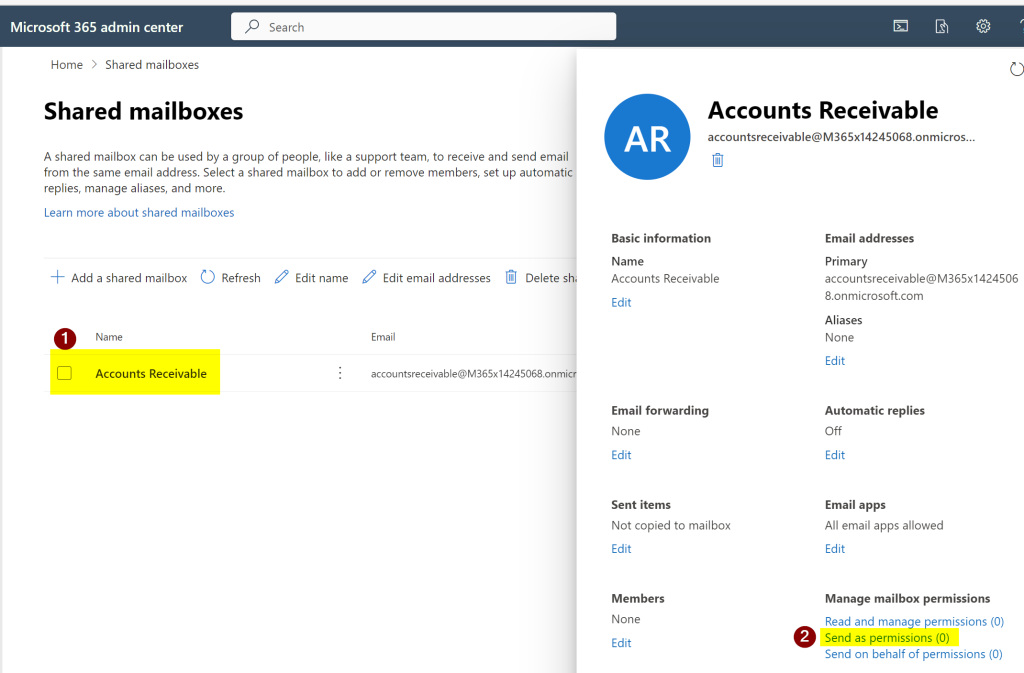
Next click “Add Permissions” and select the users you wish to be able to send from this mailbox

The Shared Mailbox has now been created in the Microsoft 365 Admin Centre.
Adding the Shared Mailbox in Business Central
Now the Shared Mailbox has been created in the Microsoft 365 Admin Centre we can add it in Business Central so we can use it to send emails from.
To do this log into Business Central as a user who has the “SUPER” permission or the “EMAIL – ADMIN” permission and search for “Email Accounts” and click the link “Email Accounts”

Next click “Add an Email Account”

Now select the “Account Type” of “Microsoft 365” as per below
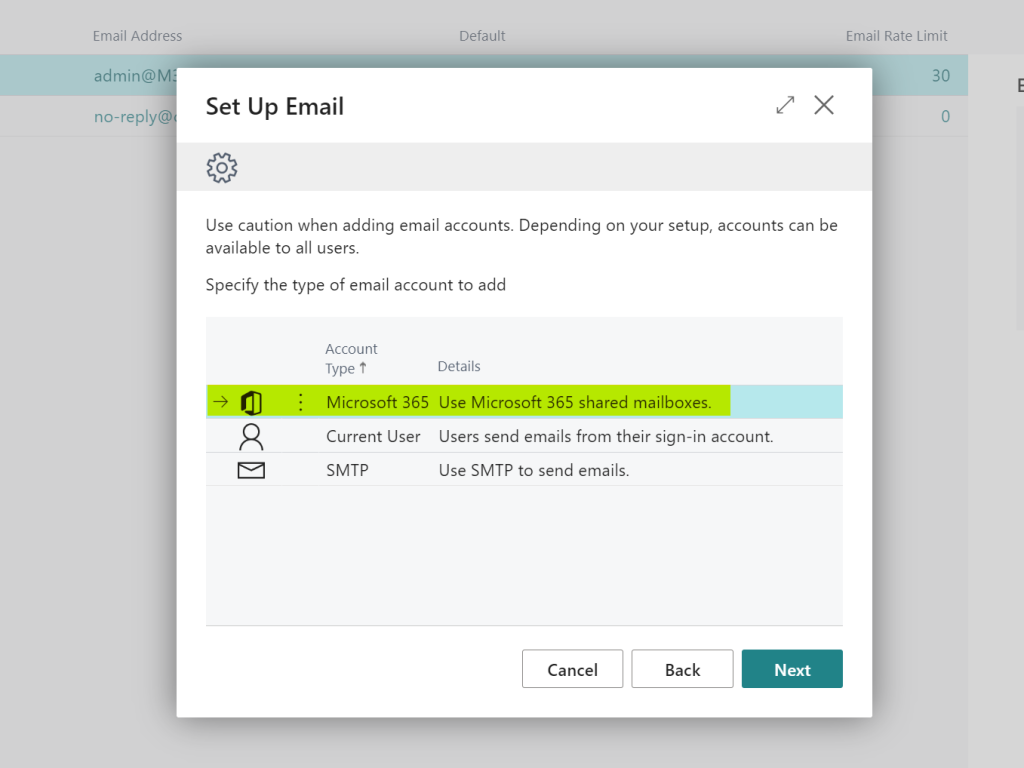
Enter the details of the Shared Mailbox you have created and click “Next”

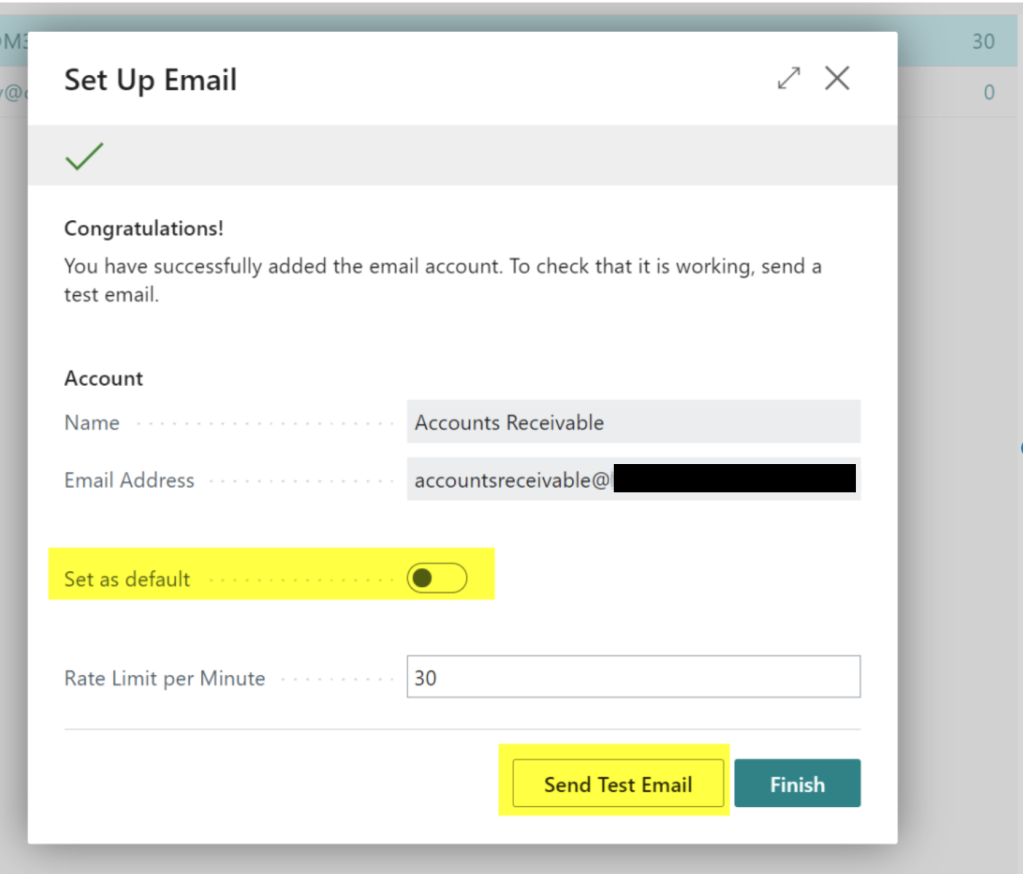
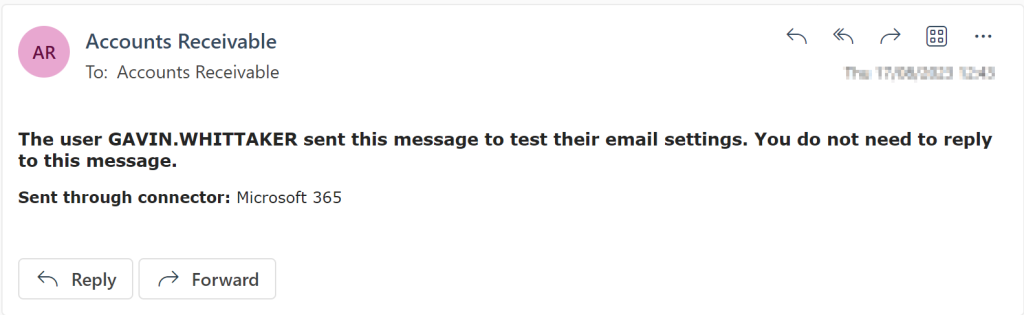
Finally you can choose to “Set as default” (this is optional) and then “Send Test Email” to test if everything is working as expected.
I selected the mailbox in question and clicked “OK” and I receive a notification to say the email is sent
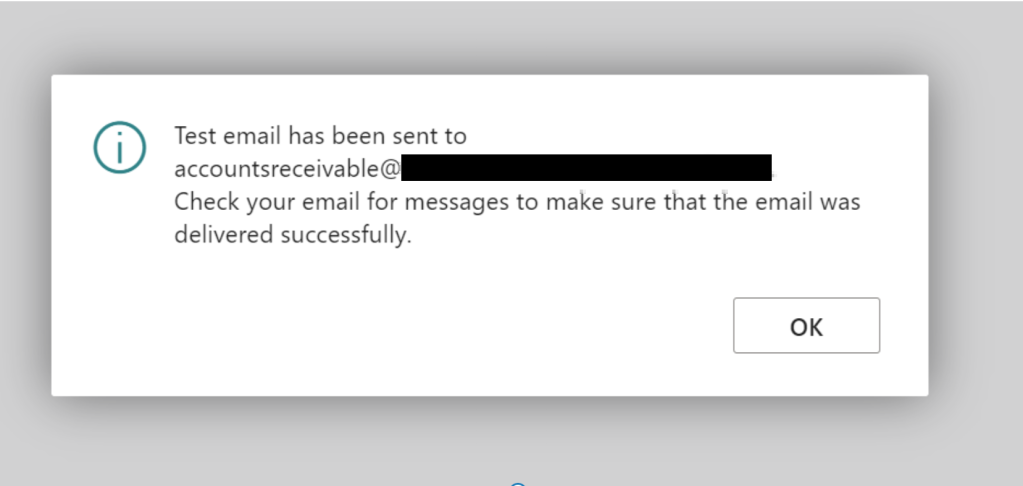
I check the emails and Success! I received the email
I can now use this to send Sales Invoices and Customer statements etc
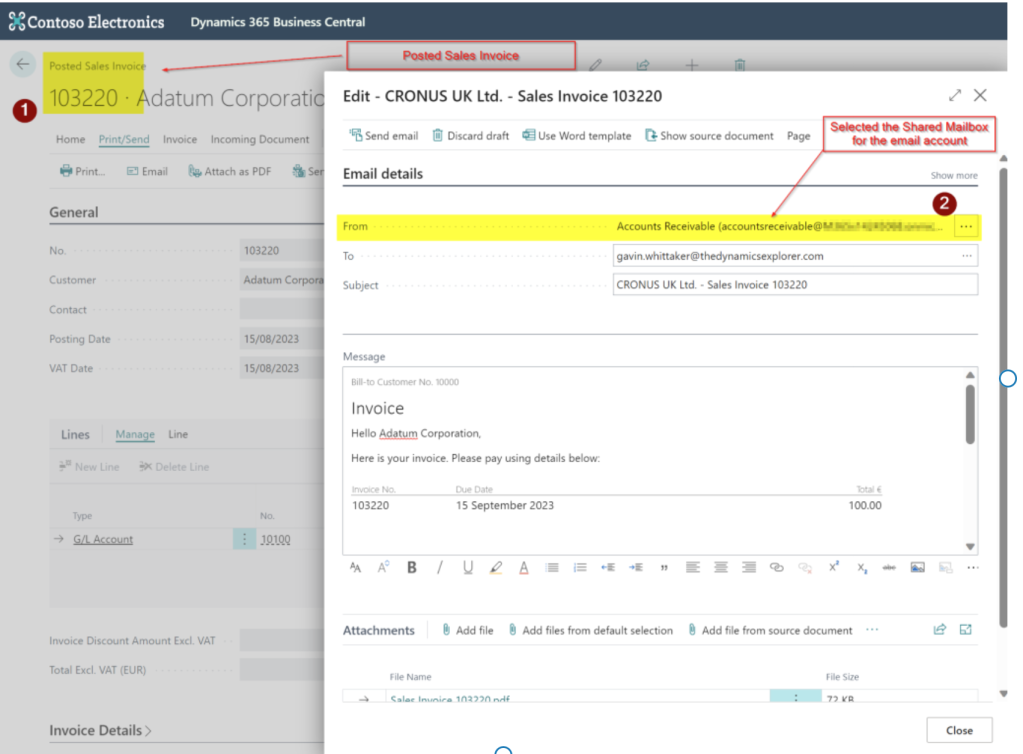
I can also setup email scenarios so the Shared Mailbox is used as a default 🙂
Conclusion
Shared Mailboxes are extremely useful when sending documentation such as Sales Invoices and Sales Credits. I hope this walk through helps you configure them on your system.
Thanks for reading!
Need help with Business Central? Contact us
UPDATE: I’ve also created this YouTube video which goes through setting up email including a Shared Mailbox 🙂